
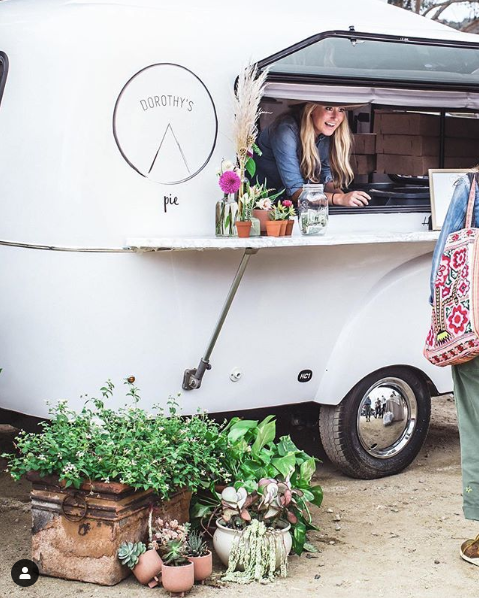
Happier Camper Concession Bar Installation
Would you like to know more about Happier Camper's Concession Bar Installation guide and see annotated images? View the information by clicking the blue "Download Article" button.
Step One: Line it up
Unpack the bar from it’s custom-designed carrying case. The bracket on the concession bar is going to nestle inside the bracket on the camper.
To do this, tilt the bar so the side facing your body is elevatedabove the side with the brackets by the camper.
Note: Don’t force it. If you’re having trouble aligning the brackets, lift it up and try again. Forcing the brackets together can cause damage.
Slowly guide the brackets towards each other until the top of the bar bracket hooks underneath the camper bracket.
Tilt the table down until you feel the brackets align.
Note: Be careful that the brackets do not rub up against or scratch the gelcoat.
Step two: Attach and secure
Your camper has a lower support permanently affixed to keep the arm secured to the camper. Gently align the arm from the bracket underneath the bar to the lower support on the camper. Use the provided latch pin (below the bar) and wing nut (to attach to the camper).
If the bar does not feel secure at this point, check that the brackets are properly aligned and that it has been fastened tightly.
Note: You should always store the fiberglass bar in the custom-carrying case to prevent scratches.
Share: